
Learn how to put on open-toe compression stockings. Putting on open-toe compression stockings can be challenging without the right technique. At Naturalwear, we help customers every day find easier, more effective ways to wear their compression stockings comfortably and correctly. In this guide, you’ll learn step-by-step how to put on open-toe compression stockings, reduce discomfort, and ensure proper fit for optimal compression therapy. Whether you’re new to wearing them or just looking for better results, these tips will make the process smoother and faster.
Getting Started
When putting on an open-toe compression stocking, there are a couple of things you can do to make the process smoother:
- Use Powder for Friction Reduction – If your foot is slightly sticky or damp, sprinkle a bit of talcum powder on it. This helps reduce friction and makes it easier to slide the stocking on.
- Utilize the Satin Slip – Most open-toe stockings come with a satin slip, which is designed to help the stocking glide over your foot, particularly over the heel (which is often the most challenging part).
Step-by-Step Guide
- Prepare Your Foot – If necessary, apply a small amount of talcum powder, then place the satin slip over your foot.
- Position the Stocking – Start by pulling the stocking over your toes and gently up to your heel. At this stage, treat it like a regular sock—just ease it over your foot without excessive stretching.
- Pull the Stocking Up – Continue pulling the stocking up your calf. When it reaches about halfway up, it’s time to grab a pair of rubber gloves. These could be gardening gloves, medical gloves, or any non-slip gloves you have available. Gloves serve two purposes:
- They protect the stocking from snags caused by nails, rings, or rough skin.
- They help evenly distribute the compression as you adjust the stocking up your leg.
- Ensure Proper Fit – You’ll know the stocking is positioned correctly when:
- The heel of the stocking aligns with the heel of your foot.
- The compression appears even, meaning the stocking’s color and texture look consistent across your leg.
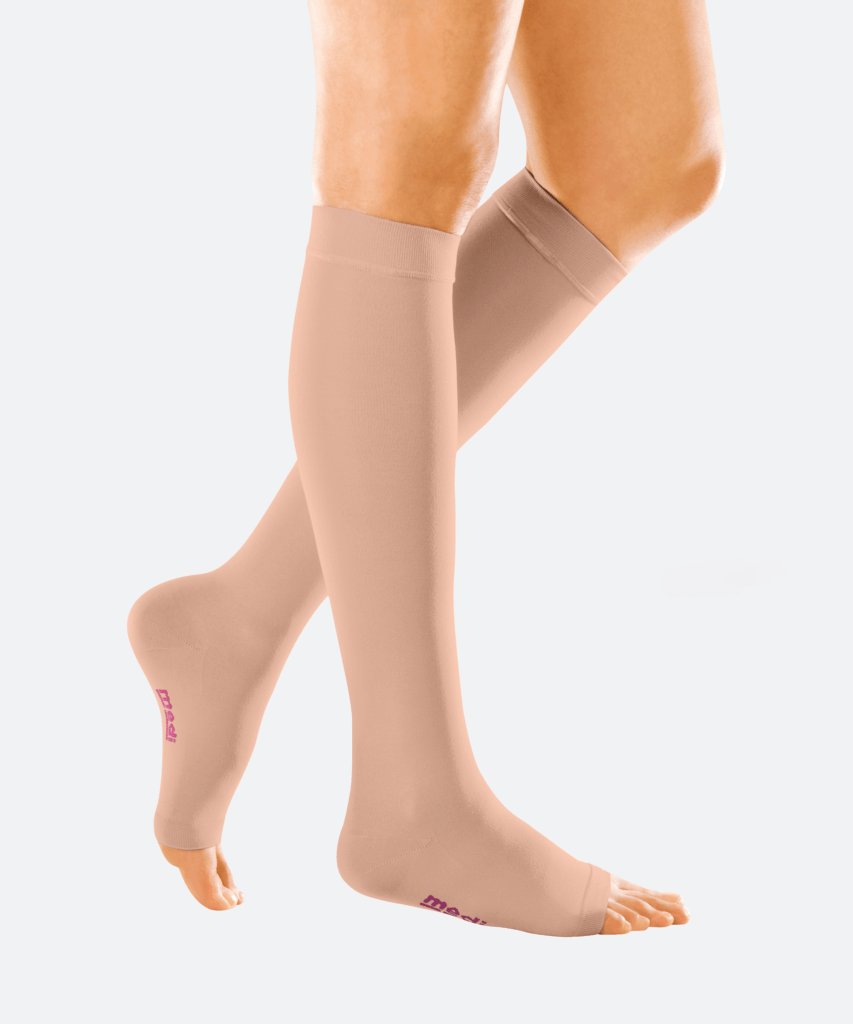
- Final Adjustments – The stocking should sit about two finger-widths below the knee. At this point, you can carefully remove the gloves and take out the satin slip. Adjust the toe area so your toes are exposed and comfortable. The stocking should feel firm but not restrictive—you should feel the compression working.
Removing the Stocking
To take off your compression stocking, follow these steps:
- Peel It Off Gradually – Start from the top and roll the stocking down carefully, turning it inside out as you go.
- Avoid Bunching – Don’t bunch the stocking up like a regular sock, as this will concentrate the compression in one spot, making it harder to remove over the heel.
Caring for Your Compression Stockings
Once you’ve removed your stockings, it’s important to care for them properly to extend their lifespan. Check out our other video guides for tips on washing and maintaining your compression stockings.
If you have any questions, contact us or call us at 0800-612-612. We’re always happy to help!
